

In January, many declared 2020 to be the year of 20/20 vision. It would be the year to achieve dreams and thrive. Well, 2020 threw everyone for a loop! Who would have imagined being in quarantine for months on end. Instead of declaring clear vision, people now describe the future as being uncertain.
Although we may not know what the future holds, we can be certain that God does know (Jeremiah 29:11). It’s important, more now than ever before, to draw into God’s presence! The Word of God reveals that if we draw near to God, He will draw near to us (James 4:8). Only God knows what the future holds. He can provide us with insight of what is to come and prepare us for it. However, we must be in a position to hear from Him.
We can draw near to God by praying and fasting, reading and meditating on the Word of God, and worshipping Him. All will make us more receptive to hearing God when He speaks to us.
Draw near to God. He holds the future in His hands!
In today’s do-it-yourself tutorial, I’ll show you how to make drawstring bags. Drawstring bags can be used to hold party favors and other small trinkets. Keep them for yourself or give them to a friend. This tutorial makes a 5” x 6” drawstring bag. The measurements can always be adjusted to make a larger or smaller bag.
Click here to purchase the Drawstring Bag Pattern from my online shop.


How To Make A Drawstring Bag
Supplies

- Drawstring Bag Pattern
- Fabric (at least 1/4 yard)
- ⅜ inch wide ribbon
- Scissors
- Thread
- Sewing machine
- Safety pin
- Tailor’s chalk
- Ruler
- Iron
Instructions
Step One: Cut pattern
Use the drawstring bag pattern to cut the necessary amount of fabric. Then, with the pattern’s guide and Tailor’s chalk, mark a line at each end of the rectangle.
Step Two: Fold and press
Place the rectangle on a flat surface with the wrong side up. Using the chalk line as a guide, fold the ends of the rectangle over and press.
Mark a second line below the fold.
Fold the fabric rectangle in half (length wise), right side out, and press.


Step Three: Fold and sew
Fold the rectangle in half again, but with the wrong sides out.
Sew the sides of the rectangle together using a ⅝” seam allowance. Stop stitching at the second line and back stitch.

Step Four: Cut
Cut the corners off. Make sure you do not cut into the line of stitches.

Step Five: Press
Press seam allowances open, top to bottom.


Step Six: Sew seam allowance
Stitch down the seam allowance that lies above the second line.


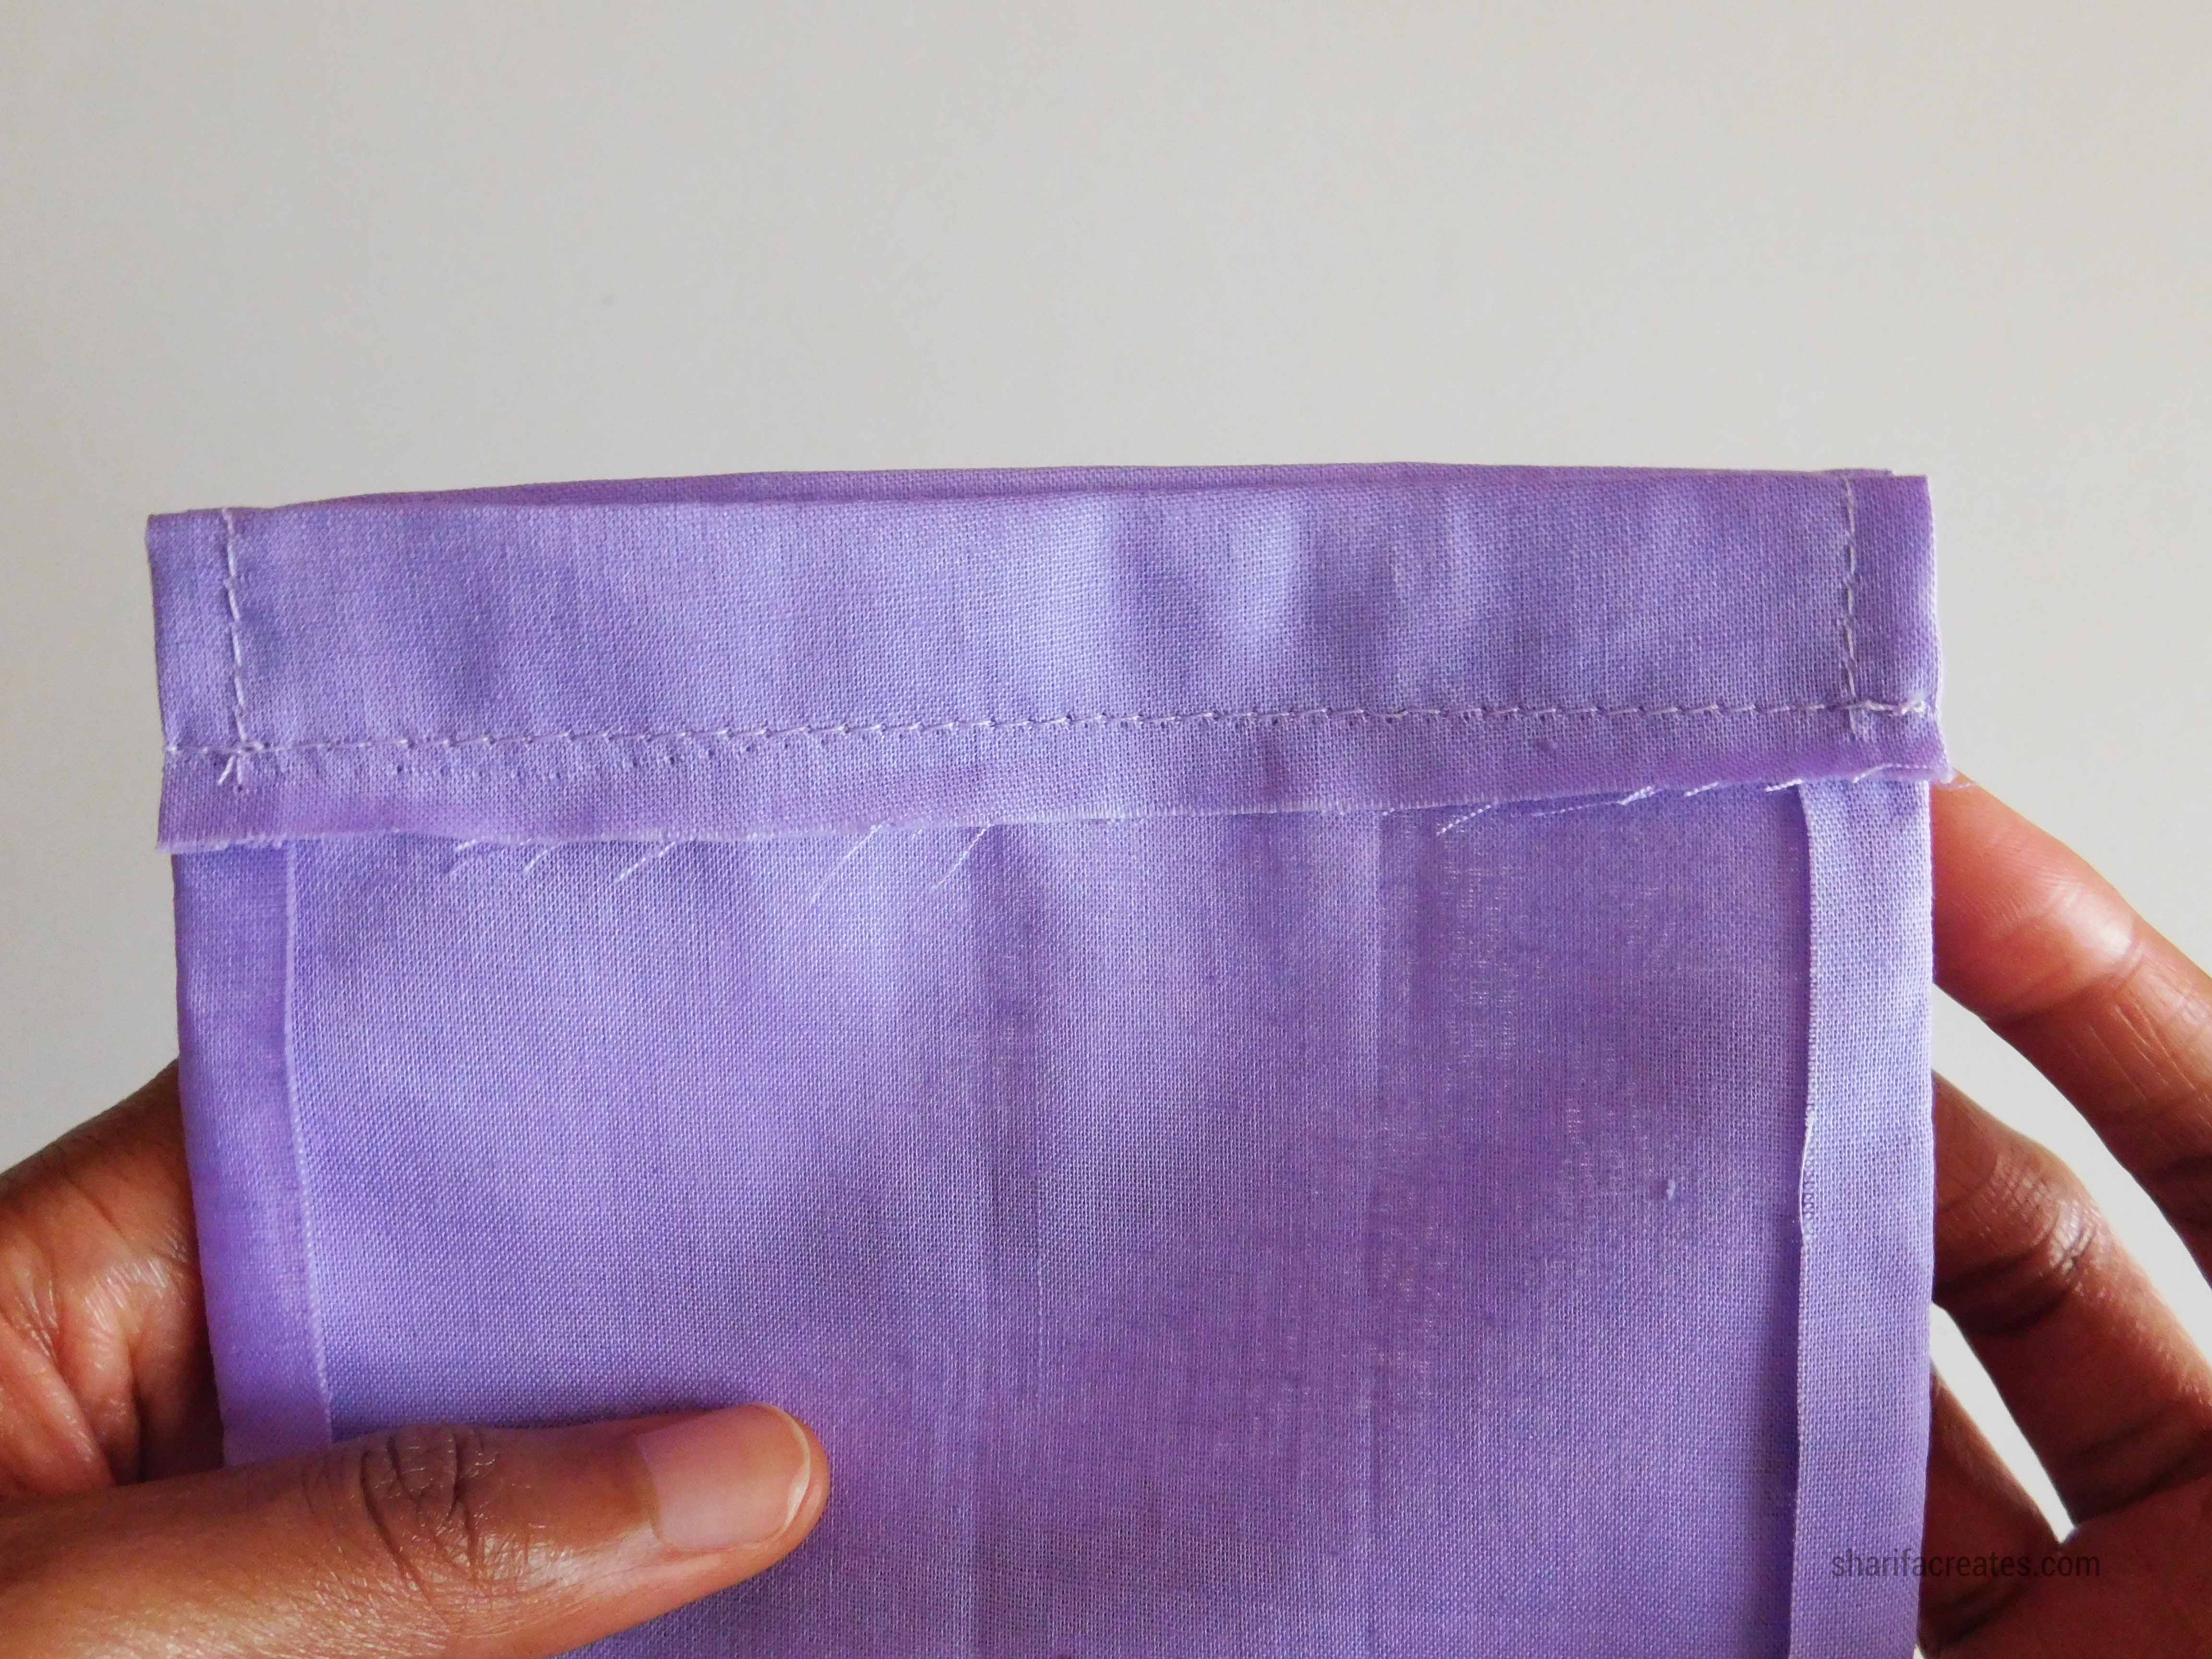
Step Seven: Sew fold
Sew down the fold. This will create an opening to thread the ribbon drawstrings through.


Step Eight: Flip
Flip the bag right side out.


Step Nine: Cut ribbon
Cut two 15” pieces of ribbon. If you do not have a ruler, use the pattern’s guide to measure your ribbon drawstrings.

Step Ten: Thread ribbon
Thread one ribbon through the right side opening of the bag. Match the ribbon’s ends and tie a knot. Repeat this step with the remaining ribbon, but on the left side. Pull both ends of the ribbon to close the drawstring bag.


How will you use your drawstring bag? Comment below!
If you enjoyed this tutorial, you will love receiving my weekly email newsletters. They are filled with creative arts and crafts projects just for you. Sign up now!
Take 15 minutes today to read, write down, and meditate on this scripture: “Draw near to God and He will draw near to you. Cleanse your hands, you sinners; and purify your hearts, you double-minded.” - James 4:8 (NKJV)


Suzanne Hendricks
September 23, 2020 at 12:05 pmThank you for the Bible verse. Much needed today.
Sharifa Creates
September 23, 2020 at 3:06 pmYou’re welcome! <3